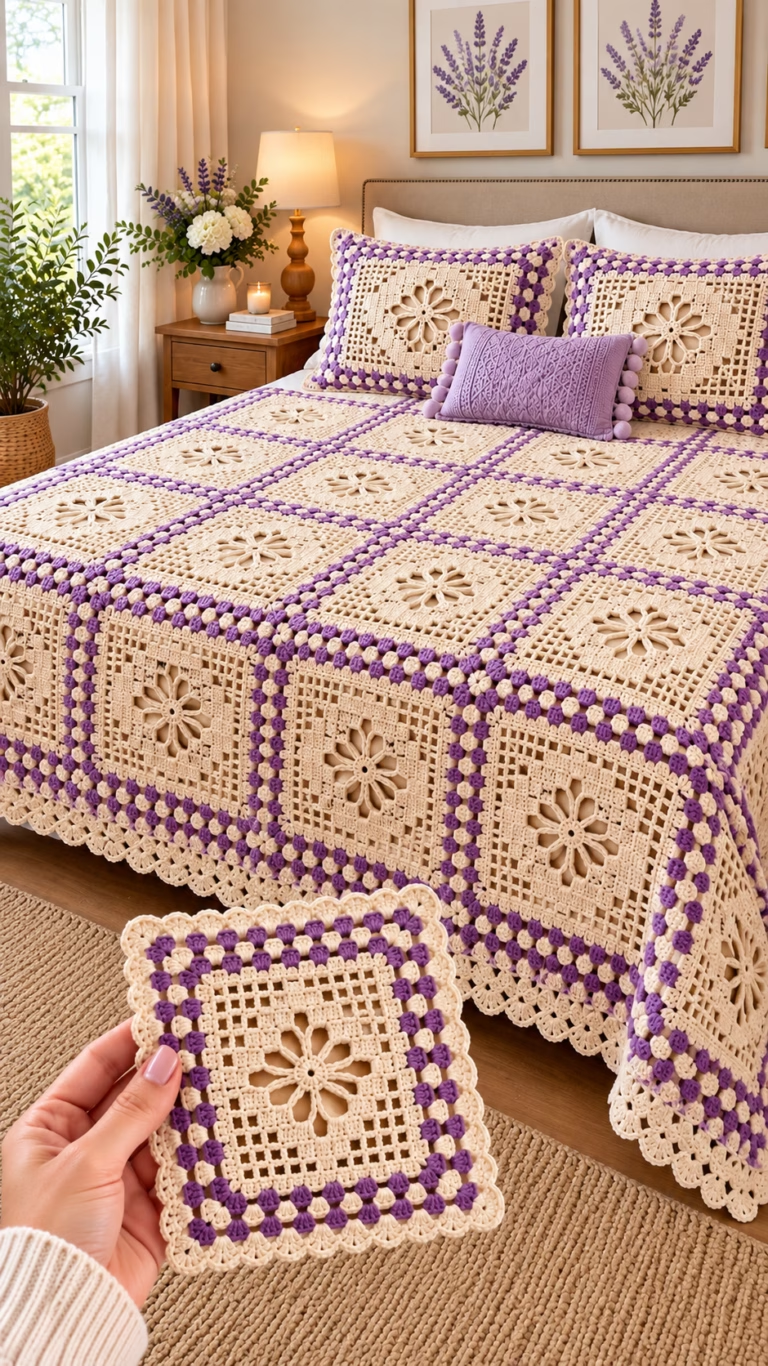
📖 B. INTRODUCTION There is something undeniably satisfying about carrying a handmade bag that balances everyday functionality with artisanal elegance. The Sunburst Square Boho Handbag brings together classic geometric motif work and modern structural design, creating a versatile accessory that transitions effortlessly from a casual daytime market trip to an evening outing. Featuring striking sunburst floral granny squares on the side panels paired with sturdy, reinforced side gussets and comfortable structured handles connected by natural wooden rings, this piece is as delightful to hook as it is to wear.
Crafted with durable cotton-blend cord or heavy worsted yarn, this bag maintains its crisp shape without feeling overly stiff or heavy. The textured front and back panels showcase intricate puff stitches and clusters that radiate outward like sunbeams, while the solid neutral tone gives it a timeless, high-end bohemian aesthetic. Whether you are gifting it to a fashion-loving friend, making a statement piece for your own wardrobe, or adding a handmade staple to your seasonal accessories collection, this project offers an engaging workflow with a stunning professional result.
Personalizing your handbag is part of the fun. You can play with multi-colored sunburst centers for a vibrant retro look, swap the wooden rings for matching crocheted tabs, or line the interior with a fun cotton print for extra durability. Grab your favorite hook, wind your yarn into a cake, and let’s dive into creating your new favorite everyday bag!
🔍 C. MAIN PATTERN OVERVIEW The Sunburst Square Boho Handbag is constructed using a modular approach that ensures structural integrity and clean finishing. The bag is built from six core components: two large sunburst granny squares (used for the front and back main panels), two rectangular side gussets that form the base and sides, a reinforced flat bottom insert for stability, and two sturdy shoulder handles attached securely through wooden rings.
- Front and Back Panels: Worked in the round as traditional sunburst (or African flower variant) granny squares starting with a circular center, transitioning into textured puff stitch clusters, and squared off with solid single and double crochet rounds.
- Side Gussets & Base: Worked in flat rows using sturdy textured stitches (such as extended single crochet or moss stitch) to wrap seamlessly around the base, keeping the bag’s profile neat and preventing sagging.
- Handles: Built with reinforced rows of tight single crochet over a core or folded structure, looped directly through smooth wooden ring connectors for a polished professional finish.
🎯 D. SKILL LEVEL Intermediate: This pattern is ideal for crocheters who are comfortable working in the round, changing colors, handling intermediate stitches like puff stitches, and assembling multi-piece projects.
- Specific techniques involved: Working into a magic ring, cluster and puff stitches, squaring a circle, seamless joining methods, working in flat rows for gussets, and secure sewing/attaching of hardware.
📏 E. FINISHED SIZE
- Width: Approximately 11 inches (28 cm) across the base.
- Height: Approximately 10 inches (25 cm) tall (excluding handles).
- Handle Drop: Approximately 9 inches (23 cm) from the top edge of the bag to the peak of the handle arch.
- Note on sizing: Finished dimensions can vary depending on your individual yarn tension, the weight of the cord or yarn chosen, hook size, and whether you choose to line the interior to prevent stretching.
🧮 F. GAUGE
- Gauge: One completed Sunburst Square measures approximately 10 inches by 10 inches (25 cm x 25 cm) using a 4.5 mm hook.
- Tension Note: Because this is a structured bag rather than a garment, exact gauge is less critical for fit, but maintaining a firm, consistent tension is vital to ensure the fabric is dense enough to hold items securely without excessive stretching.
🧶 G. REQUIRED YARN AMOUNTS
- Main Color (Natural Beige / Sand): Approximately 650 to 750 yards (approx. 550–680 meters) of Aran/Worsted weight cotton cord or tight-twist cotton yarn.
- Total Project Estimate: Roughly 14 oz (400g) of medium-to-heavy cotton yarn depending on exact stitch tightness and handle length.
🧰 H. MATERIALS
- Crochet Hook: US 7 (4.5 mm) ergonomic crochet hook (or size needed to obtain tight, even stitches).
- Yarn: Aran or Worsted weight cotton yarn / Macramé cord (Smooth 3-ply or braided cotton works wonderfully to keep stitch definition crisp).
- Wooden Rings: 4 natural smooth wooden rings (approx. 1.5 inches / 4 cm diameter) for handle attachment points.
- Notions: Tapestry needle for weaving ends, stitch markers, and sharp scissors.
- Optional: Matching fabric and sewing thread if you choose to line the interior for extra structural support.
- ⚠️ Safety Note: Ensure wooden rings are sanded smooth and securely anchored to prevent slipping under heavy loads.
🔤 I. ABBREVIATIONS – US TERMS
- ch: chain
- sl st: slip stitch
- sc: single crochet
- hdc: half double crochet
- dc: double crochet
- tr: treble crochet
- cl: cluster stitch
- puff: puff stitch
- inc: increase (2 sc in same stitch)
- sk: skip
- rep: repeat
- rnd(s): round(s)
- row(s): row(s)
- st(s): stitch(es)
- MR: magic ring
- FO: fasten off
🇯. NOTES BEFORE YOU BEGIN
- Continuous vs. Joined Rounds: Granny squares and panels are joined with a slip stitch at the end of each round unless specified otherwise. Gussets are worked in turned rows.
- Stitch Tension: Keep your yarn tension slightly firm. A tighter fabric reduces the need for an immediate fabric lining and helps the bag keep its crisp geometry.
- Tail Management: Weave in your yarn tails securely as you go, especially around color changes and joining seams, to ensure durability under daily wear.
- Right Side Out: Pay attention to the right side of your sunburst squares; ensure all front panels face outward during assembly.
🪡 K. COMPLETE PATTERN
🌸 Front & Back Panels (Make 2)
Purpose: These form the iconic floral motif centerpiece on the front and back of your handbag. Yarn/Color: Natural Beige.
- Rnd 1: Start with a MR, ch 3 (counts as first dc), work 15 dc into the ring. Join with a sl st to top of starting ch-3. (16 dc)
- Rnd 2: Ch 1, work 1 puff stitch in same st as join, ch 1, [work 1 puff stitch in next dc, ch 1]; rep from * around. Join with sl st to top of first puff st. FO color if changing, or continue. (16 puff stitches, 16 ch-1 spaces)
- Rnd 3: Join yarn in any ch-1 space. Ch 3 (counts as first dc here and throughout), work [2 dc, ch 1, 3 dc] in same ch-1 space (first corner made). Skip next puff st, work [3 dc, ch 1, 3 dc] in next ch-1 space (second corner); rep from * twice more, skip last puff st, join with sl st to top of starting ch-3. (4 corners, 24 dc total)
- Rnd 4: Sl st across to the next ch-1 corner space. Ch 3, work [2 dc, ch 1, 3 dc] in same corner space. Work 1 dc in each of the next 6 dc across the side, work [3 dc, ch 1, 3 dc] in next ch-1 corner space; rep from * twice more, work 1 dc in each of the next 6 dc, join with sl st to top of starting ch-3. (48 dc)
- Rnd 5: Ch 1, work sc in each st around, working [1 sc, ch 2, 1 sc] in each corner ch-1 space. Join with sl st to first sc. FO, leaving a long sewing tail of approx. 20 inches (50 cm) on one of the two panels.
📐 Side Gusset & Base Strip (Make 1)
Purpose: Wraps around the bottom and sides of the bag to connect the front and back panels and create depth. Yarn/Color: Natural Beige.
- Row 1: Ch 12, working into the back bumps of the chain, work 1 sc in 2nd ch from hook and in each ch across. Turn. (11 sc)
- Row 2-65: Ch 1, work 1 sc in each st across. Turn.
- Note: Adjust the length of Row 65 by wrapping the strip around the perimeter of one sunburst square to ensure it fits snugly from bottom-corner, up the side, across the top edge, and down the other side. FO, leaving a long tail for sewing.
👜 Handles (Make 2)
Purpose: Sturdy shoulder straps looped through hardware rings. Yarn/Color: Natural Beige.
- Foundation Loop: Insert your hook through one wooden ring, pull up a working loop, ch 1, and work 8 sc tightly around the base of the wooden ring. Turn.
- Row 1: Ch 1, work 1 sc in each of the 8 sc. Turn.
- Rows 2-70: Rep Row 1 until strap reaches desired shoulder length (approx. 20 inches / 50 cm).
- Attaching to Second Ring: Slide the working edge through the second wooden ring, fold the final row to meet the base of the strap, and whipstitch or slip-stitch the final edge securely closed around the ring. FO and weave in ends.
🎨 L. STYLING / ASSEMBLY / STABILITY / FINAL SHAPING
🧵 Head-to-Body Assembly & Joining Sequence
- Pinning Panels: Lay your two sunburst squares flat. Position the long gusset strip starting from the bottom center, pinning it carefully along the outer edges of both the front and back squares using locking stitch markers.
- Seaming: Using your tapestry needle and the long yarn tails, whipstitch or mattress-stitch the gusset securely to the front panel, then repeat for the back panel. Ensure corners align neatly.
- Wooden Rings & Handle Placement: Position two wooden rings on the front upper edge (and two on the back upper edge) of the bag opening, spacing them evenly about 3 inches apart from the center. Securely stitch the ring tabs firmly over the ring bases to the top interior edge of the bag.
- Final Handle Integration: Slip your completed crocheted handles through the mounted wooden rings, ensuring no twists in the strap fabric.
🏛️ Stability & Structure
- Base Firmness: Because cotton yarn can stretch under heavy weight, consider cutting a piece of thick plastic canvas or cardboard matching the exact dimensions of the bag base and slipping it inside the bottom of the bag beneath a small piece of matching fabric. This keeps the flat bottom crisp and prevents sagging.
- Tension Check: Inspect all seams to ensure they are tight and will not pull apart when the bag is filled with daily essentials.
💡 M. HELPFUL CROCHET TIPS
- 💡 Tip 1: Wind your cotton cord or yarn into a center-pull cake before starting to prevent tangles and ensure an even, consistent pull throughout your stitching.
- 💡 Tip 2: When working puff stitches in the sunburst square center, pull your loops up tall and even so all petals have identical height and volume.
- 💡 Tip 3: Use locking stitch markers generously when pinning the gusset to the square panels; curved corners require extra pins to prevent puckering.
- 💡 Tip 4: Mercerized or tightly twisted cotton yarn provides superior stitch definition and durability compared to soft acrylic fibers for bag projects.
- 💡 Tip 5: If your tension tends to loosen over long crocheting sessions, take short breaks to keep your gauge tight and uniform across all panels.
- 💡 Tip 6: Reinforce the stitching around the wooden rings with a double pass of yarn to ensure they hold up safely under regular carrying loads.
🧼 N. CARE INSTRUCTIONS
- Cleaning: Spot clean minor marks with a damp cloth and mild soap. If a full wash is necessary, hand wash gently in cool water with mild detergent. Do not bleach.
- Drying: Roll the bag in a clean towel to press out excess moisture, then reshape carefully while damp and lay flat to dry in a well-ventilated area away from direct sunlight.
- Storage: Store stuffed with tissue paper or clean cloths when not in use to maintain its crisp geometric shape and prevent handle distortion.
❓ R. FAQ
- ❓ Can I use acrylic yarn instead of cotton cord for this bag?
- Answer: While you can use acrylic, it tends to stretch significantly more than cotton when loaded with items. If you must use acrylic, consider lining the interior of the bag with sturdy canvas fabric to provide structural support.
- ❓ How do I prevent the bag from sagging at the bottom?
- Answer: Inserting a custom-cut piece of plastic canvas or sturdy cardboard covered in matching fabric into the bottom of the bag provides a rigid foundation that holds its shape perfectly.
- ❓ Are the wooden rings mandatory, or can I crochet the handles directly onto the bag?
- Answer: The wooden rings are a signature design feature that adds a professional boho finish and reduces friction wear on the straps. However, you can substitute them by crocheting direct tab loops if preferred.
- ❓ Can I adjust the size of the sunburst squares to make a larger tote?
- Answer: Yes! You can add extra rounds of double crochet or treble crochet framing around the outer perimeter of the granny squares to increase dimensions, keeping in mind you will also need to lengthen your side gusset strip.
- ❓ Is it beginner-friendly?
- Answer: This pattern is best suited for adventurous beginners or intermediate crocheters because of the combination of motif joining, gusset construction, and hardware attachment.